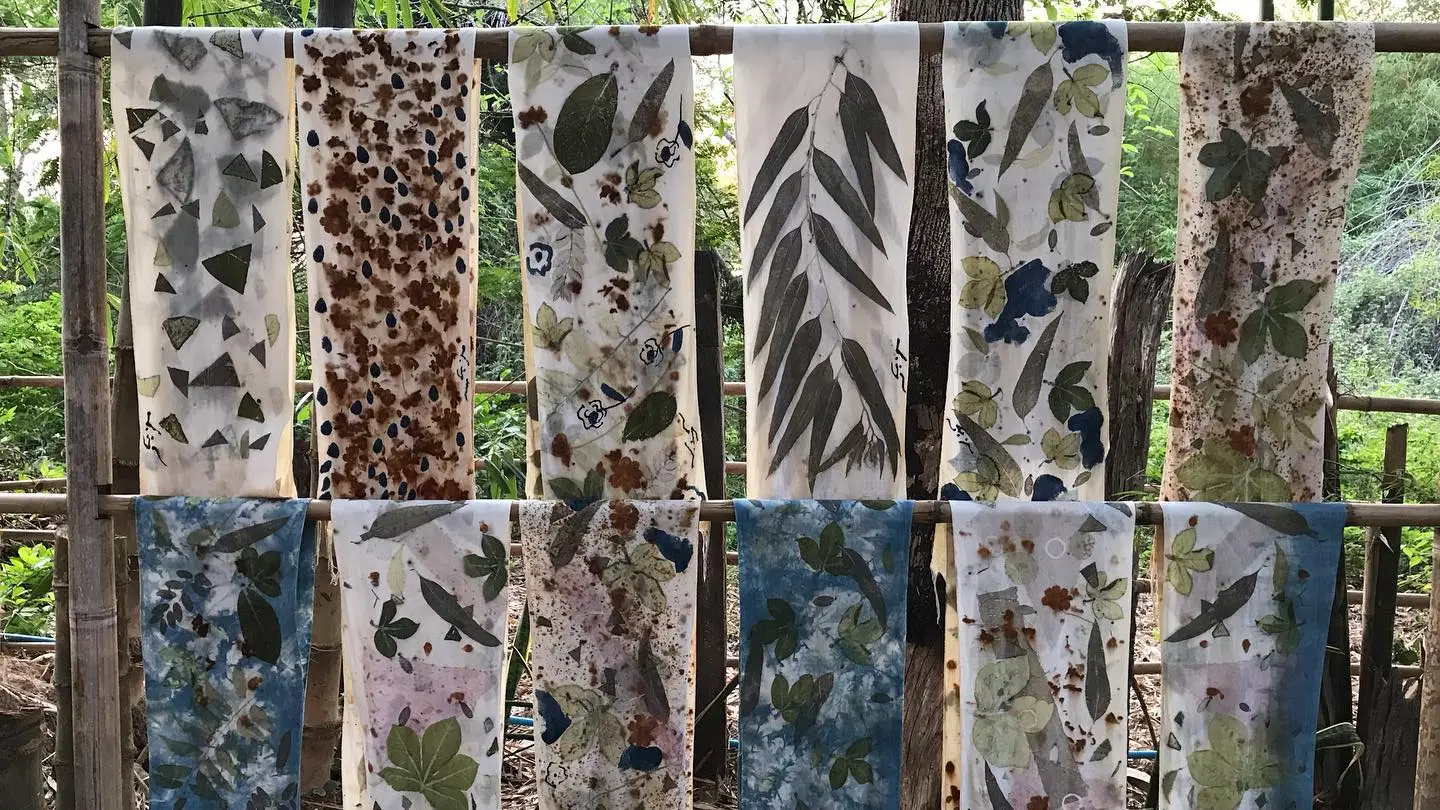
Process
Eco-printing is an interesting way to transfer the natural beauty of leaves and flowers onto paper or fabric. This sustainable art form not only celebrates nature but also offers a personal touch to your creations. Here’s a step-by-step guide to help you know the process of eco-printing:
Step 1: Prepare/Mordant the Surface
Begin by prepping your material. Create a mordant solution by dissolving 1 teaspoon of aluminium sulfate in a cup of hot water, then mix it with 2 gallons of cool water. Tear two full sheets of Rives BFK paper (175gsm) into smaller pieces and soak them in this solution for at least 2 hours, or ideally overnight for better results.
Step 2: Gather Leaves or Flowers
While the paper soaks, head out to your garden to gather leaves and flowers. Experiment with various botanicals to see what works best in your area. You can collect neem leaves, hibiscus flowers, marigold petals, or banana leaves. Once the soaking is complete, arrange the botanicals on the still-wet paper.
Step 3: Arrange Bundle
After arranging your botanicals, it’s time to bundle them. Place corrugated cardboard on the top and bottom of your paper and secure everything tightly with binder clips. The key is to hold the plants firmly in place to ensure crisp prints when transferred.
Step 4: Steaming
Steaming stimulates the organic substances in the plants. For this step, place a few bricks or a small plate at the bottom of a large pot. Add water and bring it to a simmer. Arrange your bundles on a steaming basket, weighing them down to keep them secure. Cover with a lid and steam for about 2 hours, checking the water level occasionally. This method beautifully captures the essence of creating stunning eco-prints!
Step 5: Reveal the Prints
Carefully remove the bundle with a heat-proof glove and let it cool for about an hour. Once cooled, remove the clips and gently peel back the layers. It’s best to do this while the paper is still wet to avoid leaves sticking permanently.
Now you have beautiful, nature-inspired prints ready to be displayed or used in your craft. Enjoy the artistry of eco-printing and the connection it fosters with the natural world.